


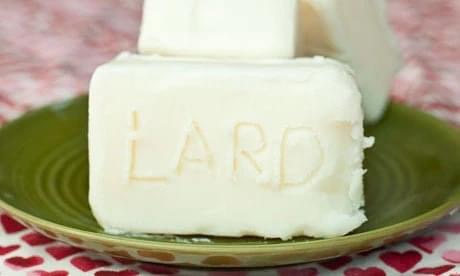
TYPES OF FAT
Caul Fat: Anatomically speaking, caul fat is the thin, lacy membrane of an animal surrounding the internal organs, known as the greater omentum. This type of fat is sometimes called lace fat, fat netting, omental fat, or crépine, its French name. It’s used as a casing for other meat preparations like roasts, sausages, or anything you want to add decadent flavor to.
Fatback: This comes from the back of the pig, includes the shoulder and rump areas, and is the thick layer of fat directly underneath the skin. Once rendered, it produces a lard that’s slightly yellow in color and it has a stronger flavor than leaf fat. It’s great for frying or sautéing.
Leaf Lard: This is the fat from around the animal’s kidney’s and is the “cleanest” fat on the whole animal. It’s also the healthiest. Once rendered, it produces a lard that’s white in color with a milder odor and flavor, making it ideal for use in pie crusts and pastries.
***IMPORTANT NOTE: The health benefits of lard do not apply to all lard from all animals. Fat is where a lot of the bad stuff is stored and concentrated (ie, chemicals, additives, by-products of junk ingredients, boar taint, etc). For that reason, we strongly suggest rendering lard only from responsibly raised animals fed a species-appropriate diet.
- Published in Meat Cuts
RENDERING LARD/TALLOW

(& Make Cracklings)
Supplies Needed:
•Animal Fat
•Glass canning jars with 2 piece canning lids
•Heavy bottomed pot (a cast-iron Dutch oven is perfect)
•Jar funnel
•Small metal strainer
•Clean cotton cloth or coffee filter
•Ladle
•Slotted spoon
•Wooden or metal stirring spoon
How to Render Lard/Tallow:
•Grind your fat using a meat grinder (or chop your fat into small pieces).
-•Use a clean, dry, heavy-bottomed pot and place it on the stovetop on LOW heat for the entire process. Repeat to yourself 3 times… LOW AND SLOW.
•Put a small amount of chopped or ground fat into the bottom of your cool pot and turn the pot on low, stirring constantly until the pot has a thin layer of melted fat across the entire bottom. Add more fat if necessary.
•Add the rest of your fat and stir to coat with the already melted fat.
•Repeat again… LOW and SLOW.
•Stir occasionally to avoid scorching.
•Continue cooking and stirring until there are no longer any bubbles and the cracklings (leftover chunks) are a nice light golden brown.
•Scoop out the cracklings with a slotted spoon onto a plate covered with a clean cotton cloth or a paper towel to drain. •Salt to taste and enjoy warm as a snack. •Store cracklings, once completely cooled, loosely packed in a ziplock bag in the freezer.
•Wash and dry glass jars and keep warm. •Set the canning funnel in the still warm jar, the metal strainer in the canning funnel, and line with a clean cotton cloth, muslin, or a coffee filter.
•Turn off the heat source.
•Carefully (it is HOT!!) ladle the melted fat into the jar through the cloth and strainer to remove any remaining bits of cracklings.
•Fill the jar and immediately cap each jar.
•Set jars aside to cool.
•Store lard in a cool, dark pantry or in the refrigerator or freezer. Once open, it is best to use lard within 1 week if left at room temperature, but it will remain good for up to a year, open, in the refrigerator.
For a video demonstration visit:
- Published in Meat Cuts
I have recently learned about convertible refrigerator/freezers

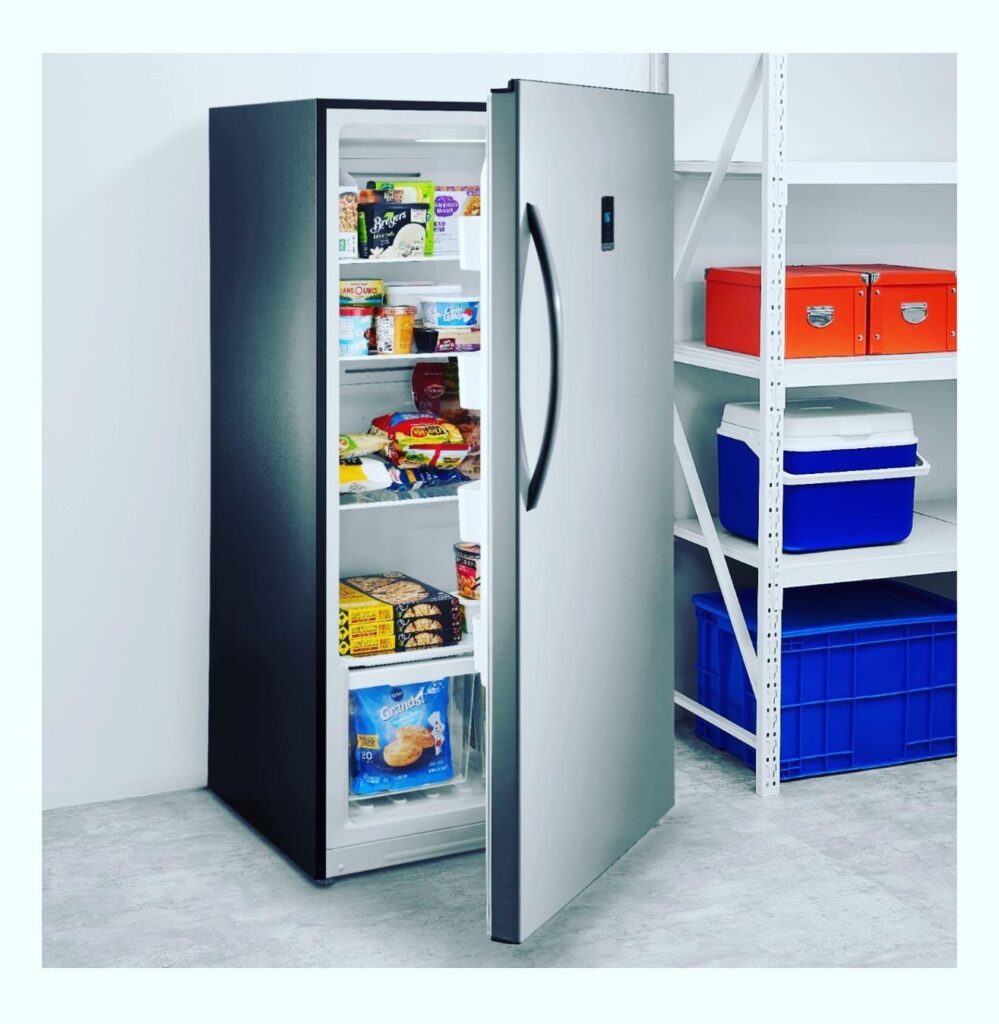
This. 
This. Is. A. Game. Changer.
Enter meat for wet aging at 34-40 degrees, dial it down for freezing once you’re done aging. You can age longer with the lower temp options AND you don’t have to transfer all that meat to the freezer after aging! And they aren’t super expensive! I’ll be getting one for myself once it’s time to restock the freezer. There are several brands at all
- Published in Storage and Prep
The Mock Tender

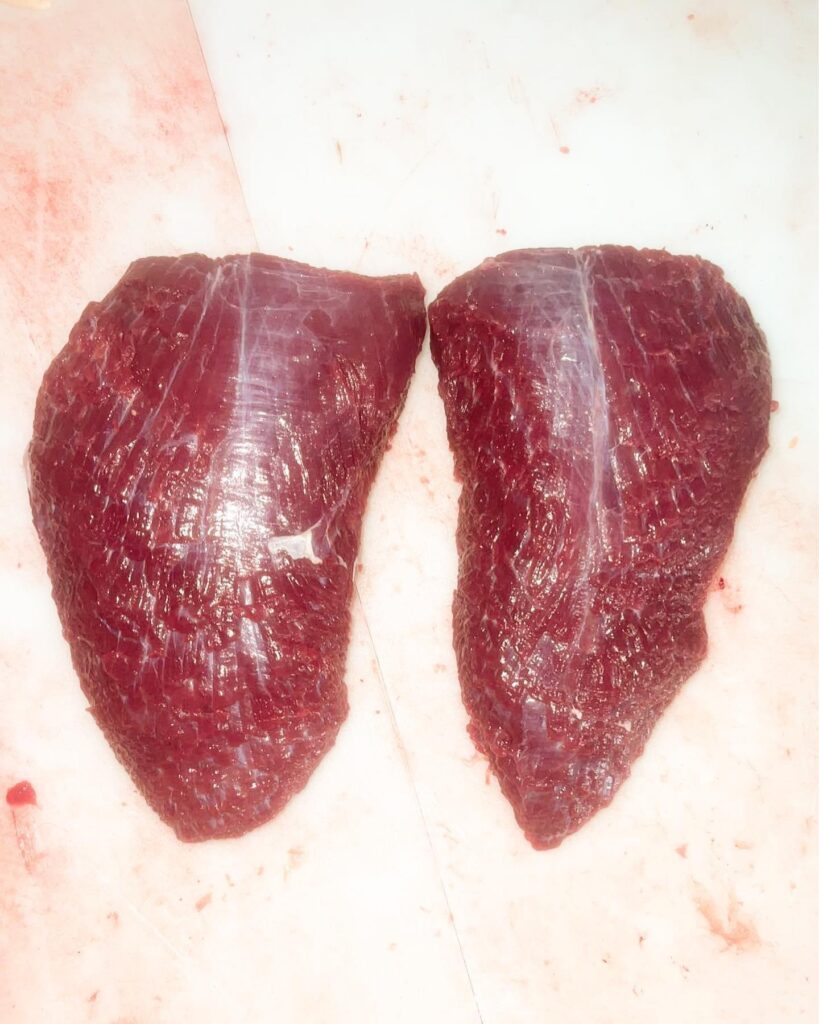
This cut comes from the other side of the shoulder blade, also know as the ‘shoulder tender’ and about 100 other aliases. It is opposite of the flat iron on the shoulder blade (chuck portion), so if you received flat iron steaks from me, you likely got these babies too!
The mock tender’s appearance may give you tenderloin vibes, but don’t let that fool you. This cut is best cooked low and slow. I recommend braising for best results. It has a rich, beefy flavor and is generally very lean. It also works well in stews or soups. If you want to slice into steaks for the grill, consider a mallet tenderizer and some acidic marinade.
There are only 2 per animal, so make sure to savor them!
- Published in Meat Cuts